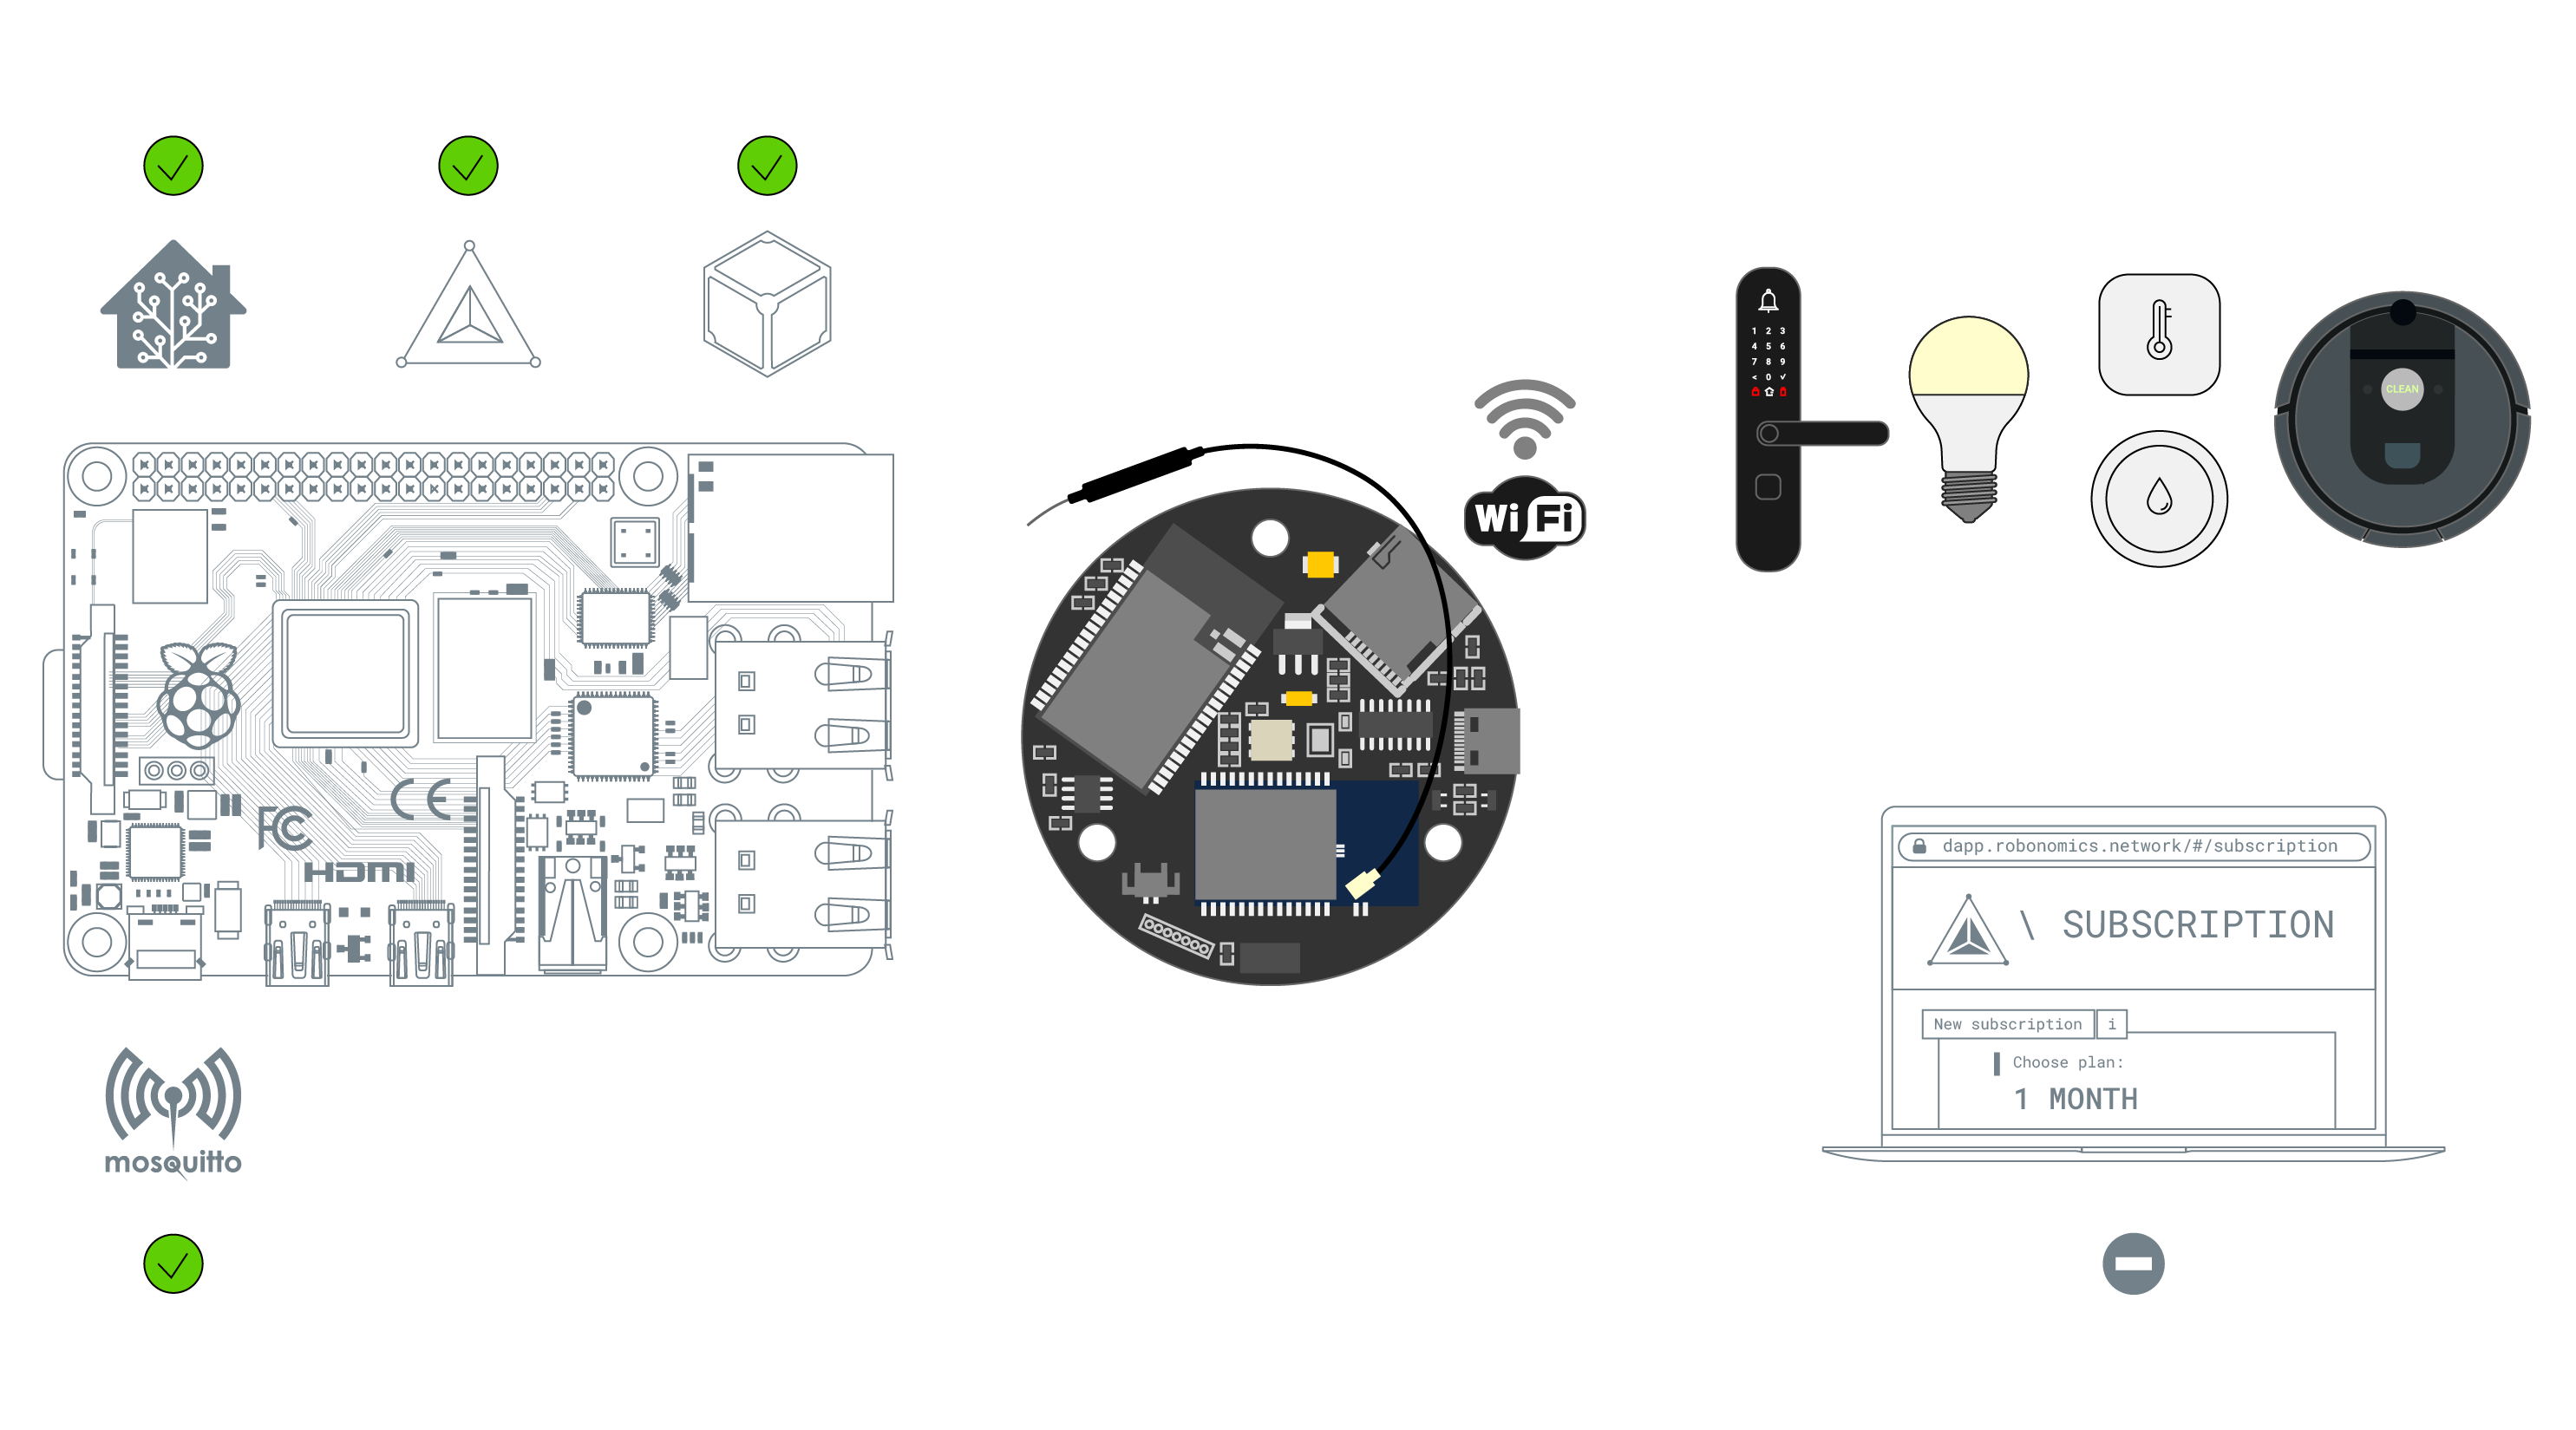
Robonomics SLS Gateway
In this article you will set up Robonomics SLS Gateway. You will install the required software for the gateway, configure it and connect it to Home Assistant.
Firmware
First you need to install microcontroller firmware of the gateway. Prepare the gateway by setting switches 1 and 3 at the bottom part of SLS Gateway to ON, others must be OFF.
Connect gateway to your Raspberry Pi via USB type-C port on the gateway.
Clone the repository with firmware to your Raspberry Pi:
git clone https://github.com/airalab/robonomics-hass-utils.gitGo to robonomics-hass-utils/esp_firmware/linux. To flash the SLS gateway you need to run Clear and Flash_16mb scripts.
cd robonomics-hass-utils/esp_firmware/linux
sudo chmod +x Clear.sh
sudo chmod +x Flash_16mb.sh
./Clear.sh
./Flash_16mb.sh
Troubleshooting
If you are experiencing problems updating the gateway firmware, you need to take additional steps:
- Make sure you have the pySerial module installed:
pip install pyserial- Give your user access rights to the USB port and reboot computer:
sudo usermod -a -G dialout $USER
sudo reboot- In some cases, it is necessary to change the bandwidth setting in the script to update the firmware. Open the
Flash_16mb.shscript with thenanoeditor and change the baud parameter from921600to a smaller value (for example,115200).
Configuration
- Disconnect SLS Gateway from rhe computer. Set the switches on the back of the gateway to the proper position. Switches
5(RX Zigbee to ESP) and6(TX Zigbee to ESP) must be in theONposition, the others must beOFF.
- Connect the type-C power cable. The indicator light in the center should turn green.
- On the first startup, the gateway will start sharing Wi-Fi with the SSID
zgw****. Connect to this network. Keep in mind that the signal may be quite weak, so it is better to keep the SLS gateway closer to your computer.
If the connection is successful, the web interface will open (or you can find it on 192.168.1.1 address).
You will see
Wi-Fi Settingspage. Select your Wi-Fi and enter the password. PressApplybutton. The gateway will restart and connect to your Wi-Fi network.
Find the local IP of the SLS gateway to access the web interface. To find it you can use Fing mobile app or nmap CLI tool. The gateway name should look like this:
zgw****. Open the web interface of the gateway by pasting the gateway IP into a browser.Go to
Setting->Hardwareand make sure that the settings look like on the image. Correct the settings if necessary and clickSavebutton:
The table with required values:
| Field | Value |
|---|---|
| Zigbee module | TI |
| Zigbee UART RX | 22 |
| Zigbee UART TX | 23 |
| Zigbee RST Pin | 18 |
| Zigbee BSL Pin | 19 |
| Service Button Pin | 33 (pullUP - true) |
| Number addressable leds | 0 |
| Led Red (or addr) | 21 |
| Led Green | 5 |
| Led Blue | 27 |
| I2C SDA | 255 |
| I2C SCL | 255 |
Then reboot the gateway. Choose
Actions->Reboot systemat the right top corner.Make sure that the gateway works properly in the Zigbee info window. DeviceState should be
OK.Configure automatically adding devices to Home Assistant. Go to
Zigbee->Configthen chooseHome Assistant MQTT DiscoveryandClear States. Save changes and again reboot SLS gateway.If you already have an active SLS gateway in your home, and you are now configuring another one, then they will conflict with each other. To solve this problem you need to change the channel on the new device. To do this, go toZigbee->Configand change the channel to another one (e.g. channel 15).

Pairing SLS to MQTT
After configuring the SLS Gateway, you need to connect SLS Gateway to Home Assistant. Open SLS Gateway web interface and go to Settings/Link -> MQTT Setup:
Add your broker address (address of the Raspberry Pi with Home Assistant in local network, you can find it with Fing mobile app or nmap CLI tool), port (default is 1883) your broker username and password (which you have created earlier) and the topic name (you can choose any). Also, the Raspberry Pi IP address must be static. Click on Enable and Retain states.
Save changes. Now devices will be automatically shown in Home Assistant.
Connect Devices
Connect your devices by going to Zigbee -> Join. Put your sensors in pairing mode, the most common way to switch a device to connect mode is to hold its power button or switch them on/off for 5 times. Press the Enable Join button to start searching Zigbee devices. You will see active sensors.
Now you can go to the IoT Subscription section and start activating the Robonomics subscription.
Couldn't complete
It was hard
It was ok
It was easy
Make a contribution
Robonomics wiki is open source. See something that's wrong or unclear? Submit a pull request.