Smart Home Installation
Welcome to the guide on installing Home Assistant with Robonomics integration. Home Assistant is an open-source home automation system that provides a centralized hub for controlling smart devices in your home network. By integrating with Robonomics, a decentralized cloud service, you can enhance the functionality and security of your smart home. In this article, we will provide step-by-step instructions on how to install Home Assistant with Robonomics, giving you the ability to automate and control various aspects of your home using a secure and decentralized solution. Let’s get started!
Demo
Here is an example of a complete Smart Home and Robonomics integration installation. Keep in mind that the time required may vary depending on the Internet connection.
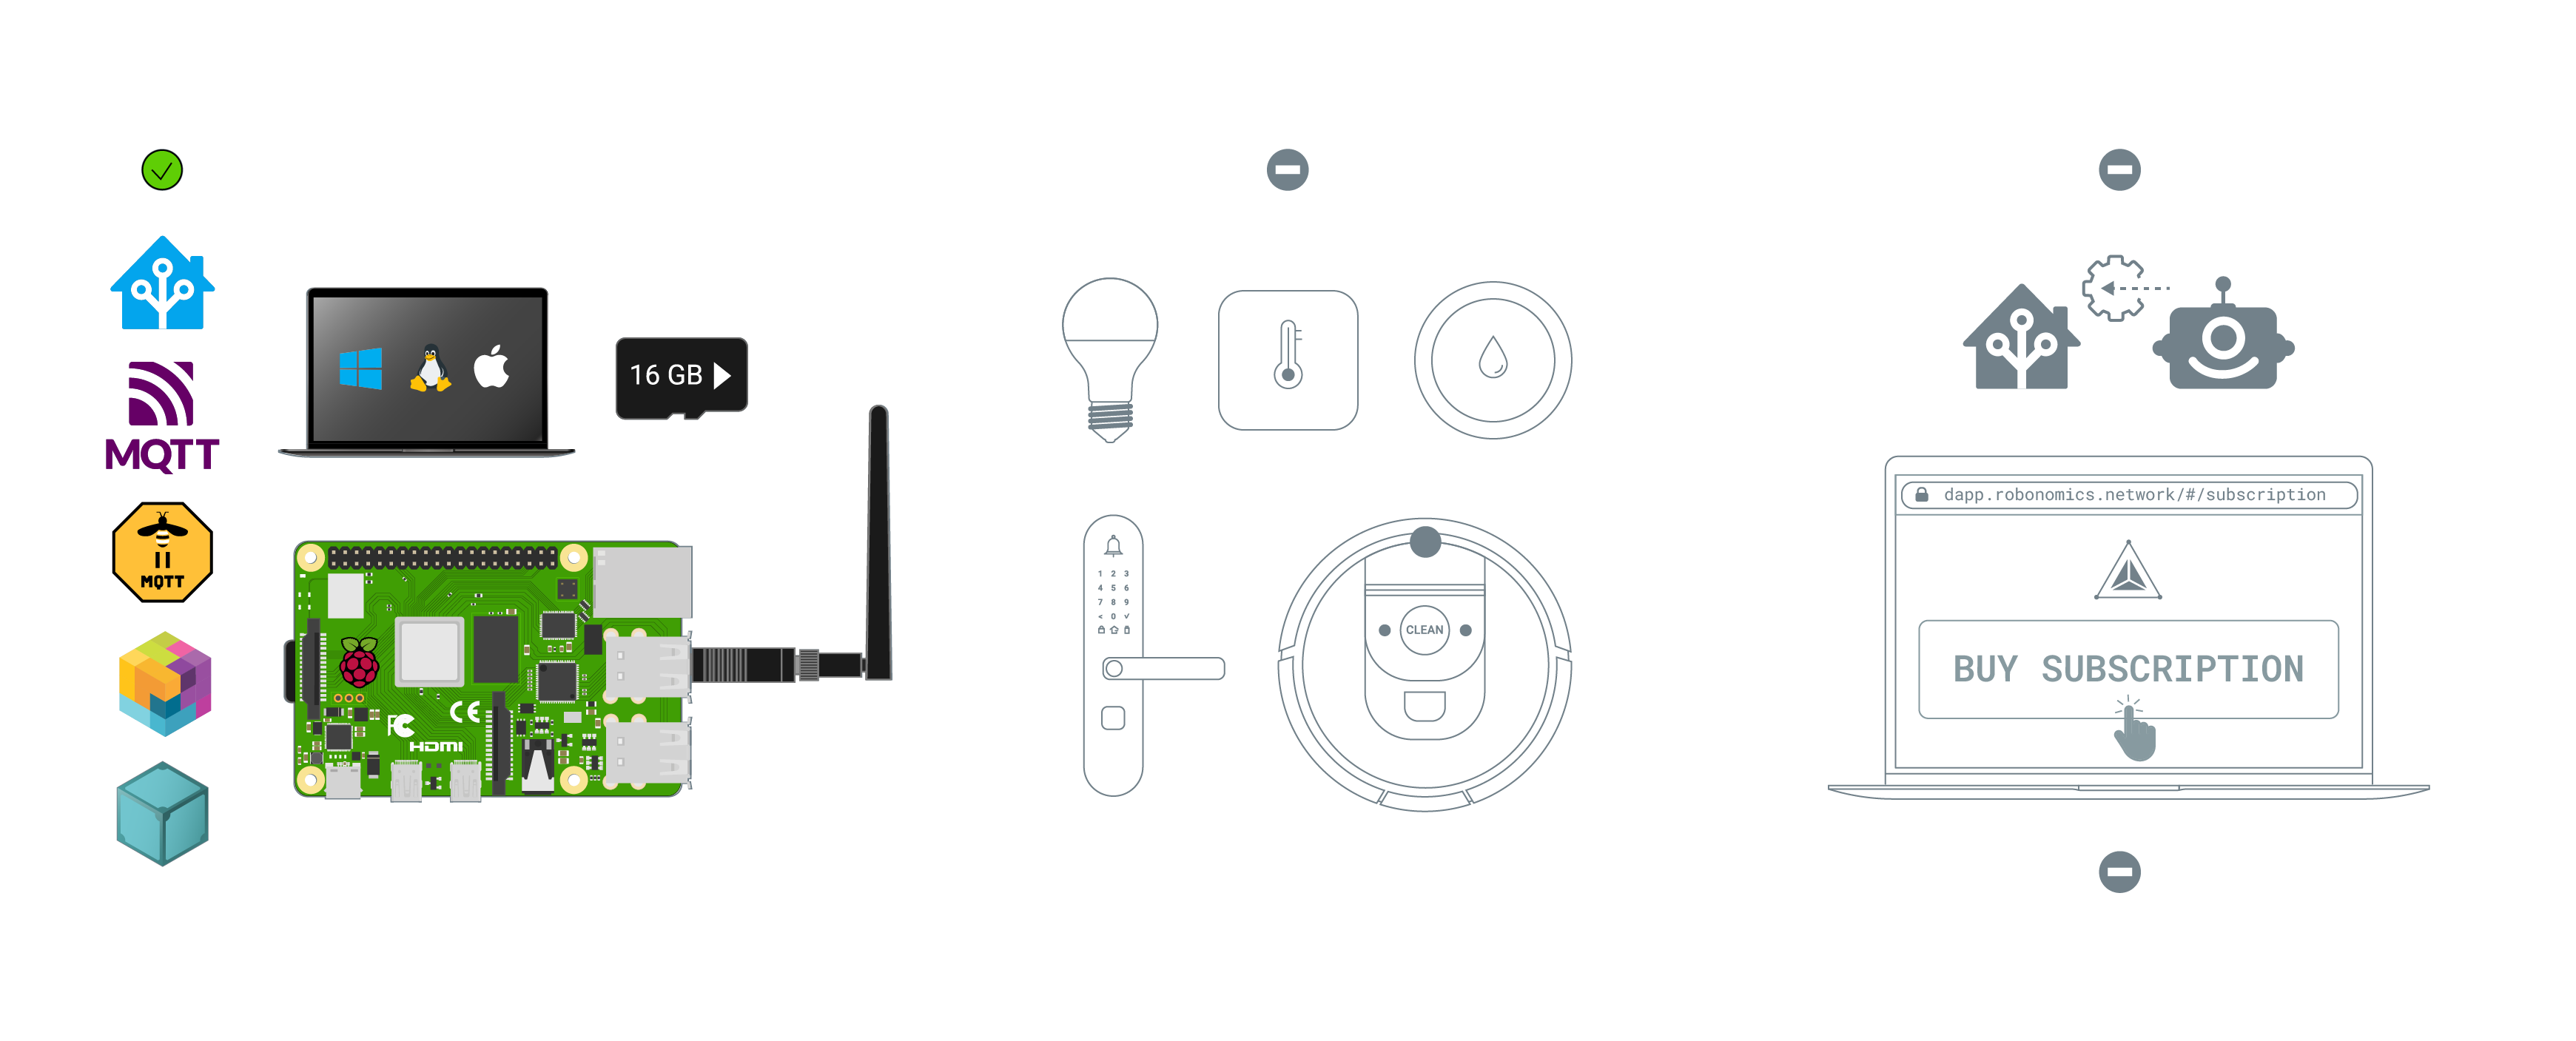
Hardware you need for installation
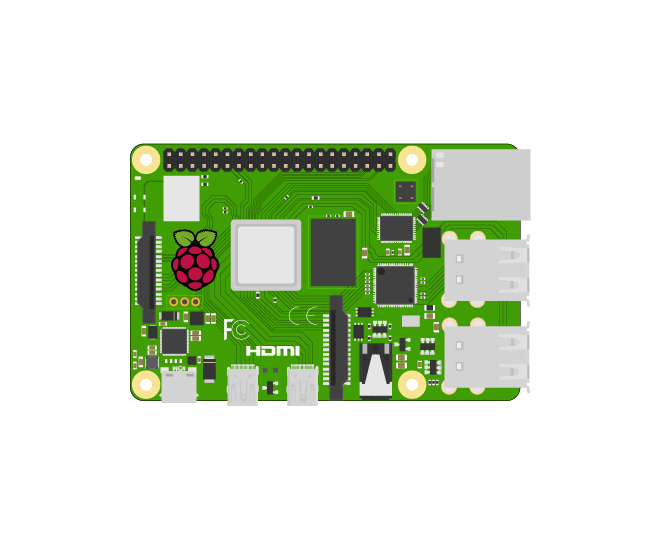
If you haven’t already incorporated Home Assistant into your smart home setup, it’s important to be aware of the equipment you’ll need to establish a complete smart home system from the ground up. The Robonomics team recommend to use Raspberry Pi 4 as smart home server.

Software you need for installation
Your Raspberry Pi must have Ubuntu Server 24.04.1 LTS (64-bit) or Ubuntu Server 22.04.5 LTS (64-bit) installed. The best way to install an image for Raspberry Pi is to use the Raspberry Pi Imager utility.
1. Install Pre-requirements

Robonomics Docker contains:
- Home Assistant
- IPFS
- MQTT Broker and Integration
- Zigbee2MQTT
- libp2p proxy
- Robonomics Integration
First you need to install the following packages:
sudo apt-get install wget unzip git jq
Then you need to install Docker on your Raspberry Pi 4. Installation instruction find on the official website.
2. Configure
Download the GitHub repository and navigate inside it:
git clone https://github.com/airalab/home-assistant-web3-build.git
cd home-assistant-web3-build/
Then, create a .env file from the template.env:
cp template.env .env
After that, you may open the .env file and edit the default values, such as:
- the path to the repository where all configurations folders will be stored .
- time zone in “tz database name”.
3. Start
Run the bash script and wait until it installs all required packages:
bash setup.sh
The script will verify all required actions completed in the previous steps and will display an error if something is incorrect.
During the installation process the following situations may occur:
- If you decide not to use the Zigbee coordinator, you will see a dialog line confirming whether to continue the installation:
this script will create all necessary repositories and start docker containers
Cannot find zigbee coordinator location. Please insert it and run script again. The directory /dev/serial/by-id/ does not exist
Do you want to continue without zigbee coordinator? It will not start Zigbee2MQTT container.
Do you want to proceed? (Y/n)
- If there are several devices on your Raspberry Pi 4 that use serial ports, the script will ask which device to use:
this script will create all necessary repositories and start docker containers
the zigbee coordinator is installed
You have more that 1 connected devices. Please choose one
1) /dev/serial/by-id/usb-ITEAD_SONOFF_Zigbee_3.0_USB_Dongle_Plus_V2_20240123142833-if00
2) /dev/serial/by-id/usb-Silicon_Labs_Sonoff_Zigbee_3.0_USB_Dongle_Plus_0001-if00-port0
#?
Post-installation
After everything has started, you can use the update.sh script to update the version of Docker packages:
bash update.sh
To stop everything, use the stop.sh script:
bash stop.sh
That’s all. Continue to the next article.
Couldn't complete
It was hard
It was ok
It was easy
Make a contribution
Robonomics wiki is open source. See something that's wrong or unclear? Submit a pull request.