Energy Monitoring
This article will show you the process of setting up the Energy Monitoring.
Step 1 — Flashing
Take the device from the box and connect it to the computer. Then go to the website webflasher.robonomics.network. This is the web flasher.
In “Firmware” drop-box choose “ENERGY MONITOR” option and next in “SELECT CHIP” choose “ESP32-S3”. Press “CONNECT” button.
A popup window will appear where you should select the serial port to which the device is connected (usually it’s /ttyUSB0). Then choose “INSTALL ENERGY-MONITOR_EN”.
On next window, you can make CLEAR INSTALLATION by check ERASE DEVICE. Press Next and then Install. Wait until firmware to upload to Energy Monitoring device.
After finishing the installation process Wi-Fi configuration popup will appear. Provide Wi-Fi credentials.
After setting up Wi-Fi you can visit device via VISIT DEVICE button. Later you can visit device via it’s IP address in the network. To find it you can use Fing mobile app or
nmap CLI tool.
Skip Step 2 — Access Point and go to Step 3 — Configuration.
Step 2 — Access Point
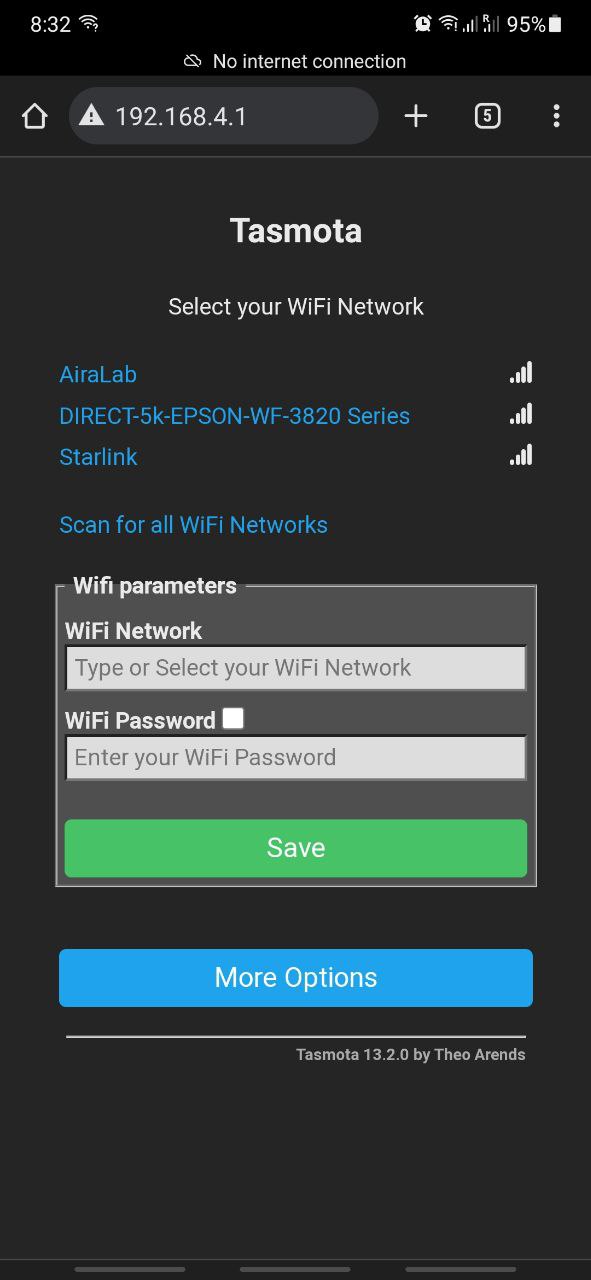
If you take Energy monitor from the box and connect it to the power supply, it will create hotspot with name “robonomics-XXXXXXX”. Connect to it. Configuration window should open. If not, open web-browser and go to 192.168.4.1 page.

Provide Wi-Fi credentials. After that, the Energy Monitoring device will connect to the Wi-Fi network. Check the device via it’s IP address in the network. To find it you can use Fing mobile app or
nmap CLI tool.
Step 3 — Configuration
Go to “Configuration”->“Configure other”. In “Template” string insert next:
{"NAME":"Robonomics-Energy-Monitor","GPIO":[1,1,1,1,1,1,1,1,1,1,1,1,1,1,1,1,1,3200,5440,1,1,576,0,0,0,0,0,1,1,1,1,1,1,1,1,1,1,1],"FLAG":0,"BASE":1, "CMND":"SetOption21 1|WattRes 2|VoltRes 2"}Verify that checkbox “Activate” and “MQTT Enable” is enabled. If not, enable it and press Save button.
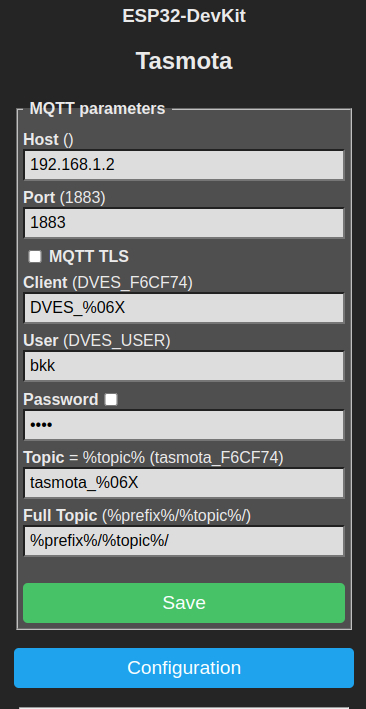
Return to “main menu” and go to “Configuration” -> “Configure MQTT”.
Provide your MQTT credentials here:

That’s all with ESP for now. The next step is to install the Home Assistant integration.
Step 4 — Integration setup
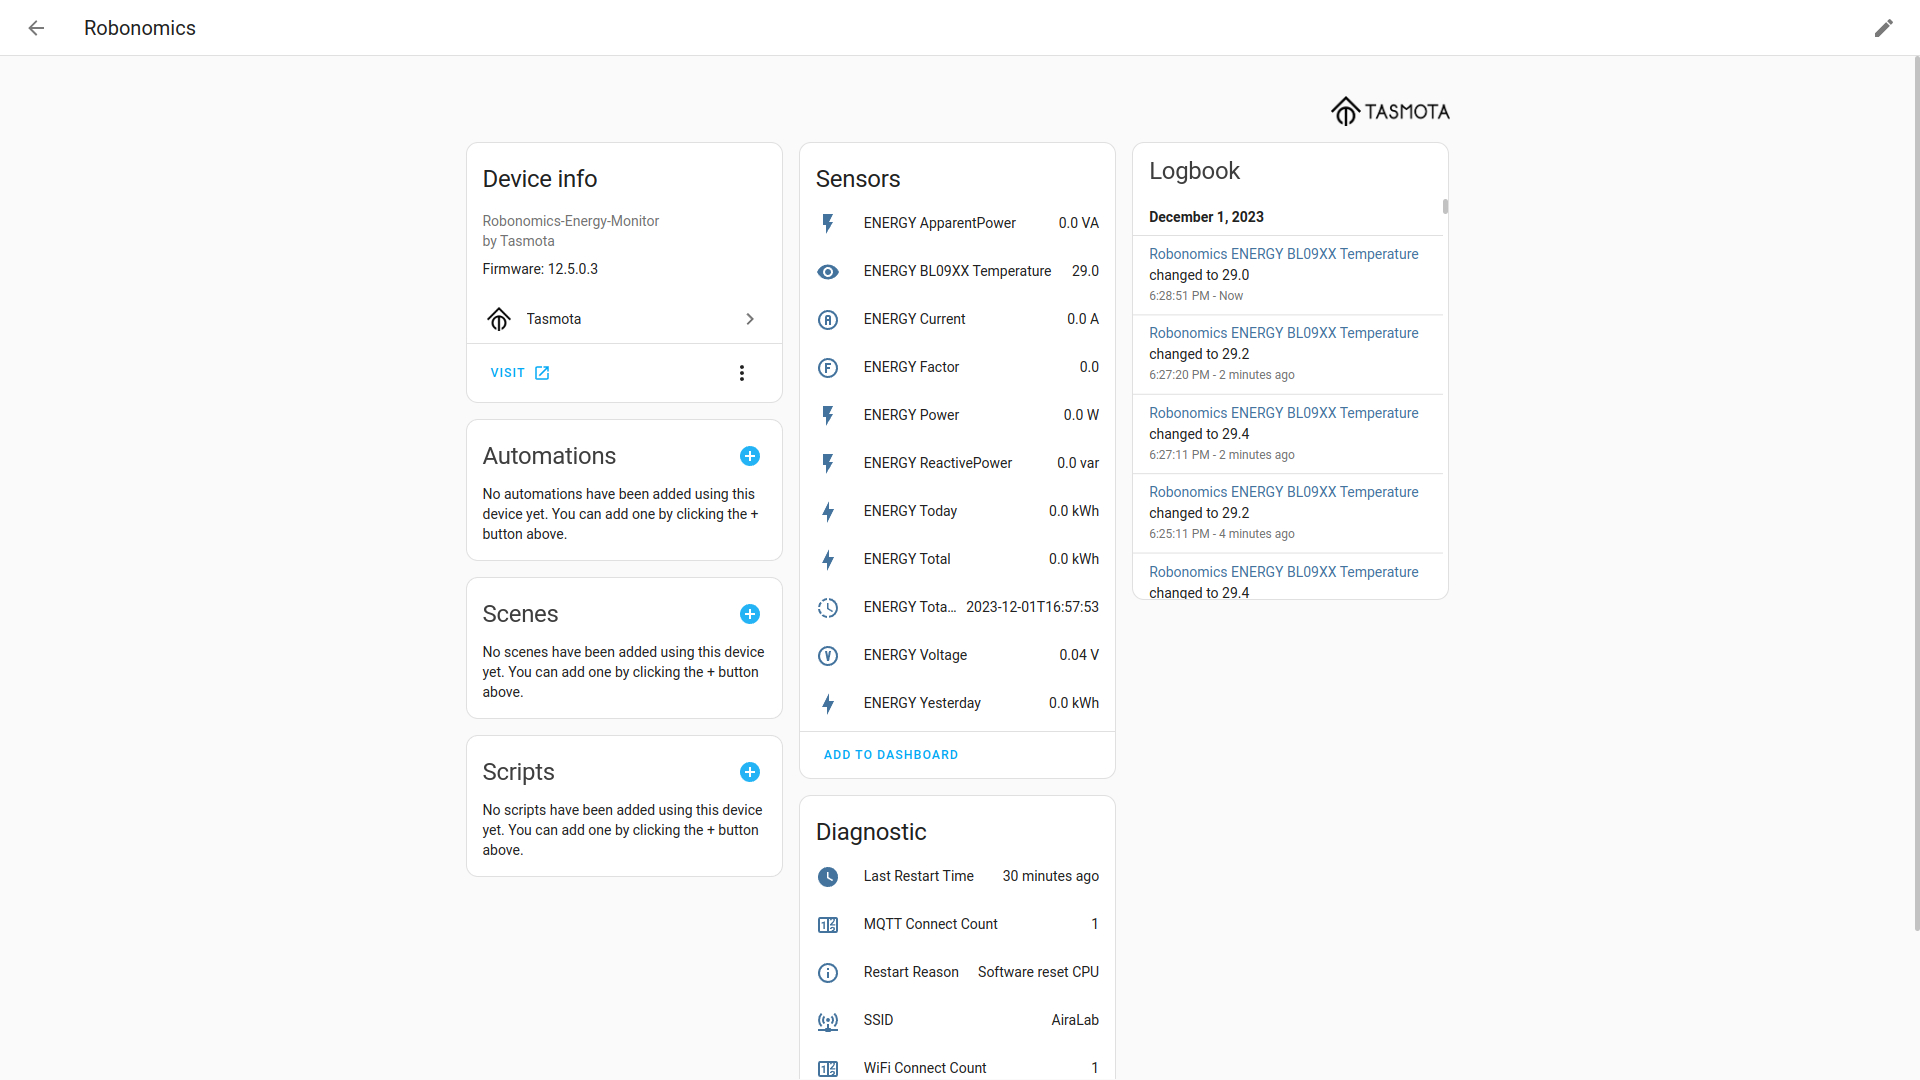
This article assumes, that you have Home Assistant. To connect Energy Monitoring device to Home Assistant, you need to install “Tasmota” integration.
Basically, Home Assistant will discover “Tasmota” integration automatically. But if not, add it manually.

That’s all. Now you can add energy entities to the dashboard.
Couldn't complete
It was hard
It was ok
It was easy
Make a contribution
Robonomics wiki is open source. See something that's wrong or unclear? Submit a pull request.

