Subscription Activate
In this article, you will create Robonomics parachain accounts and buy an IoT subscription.
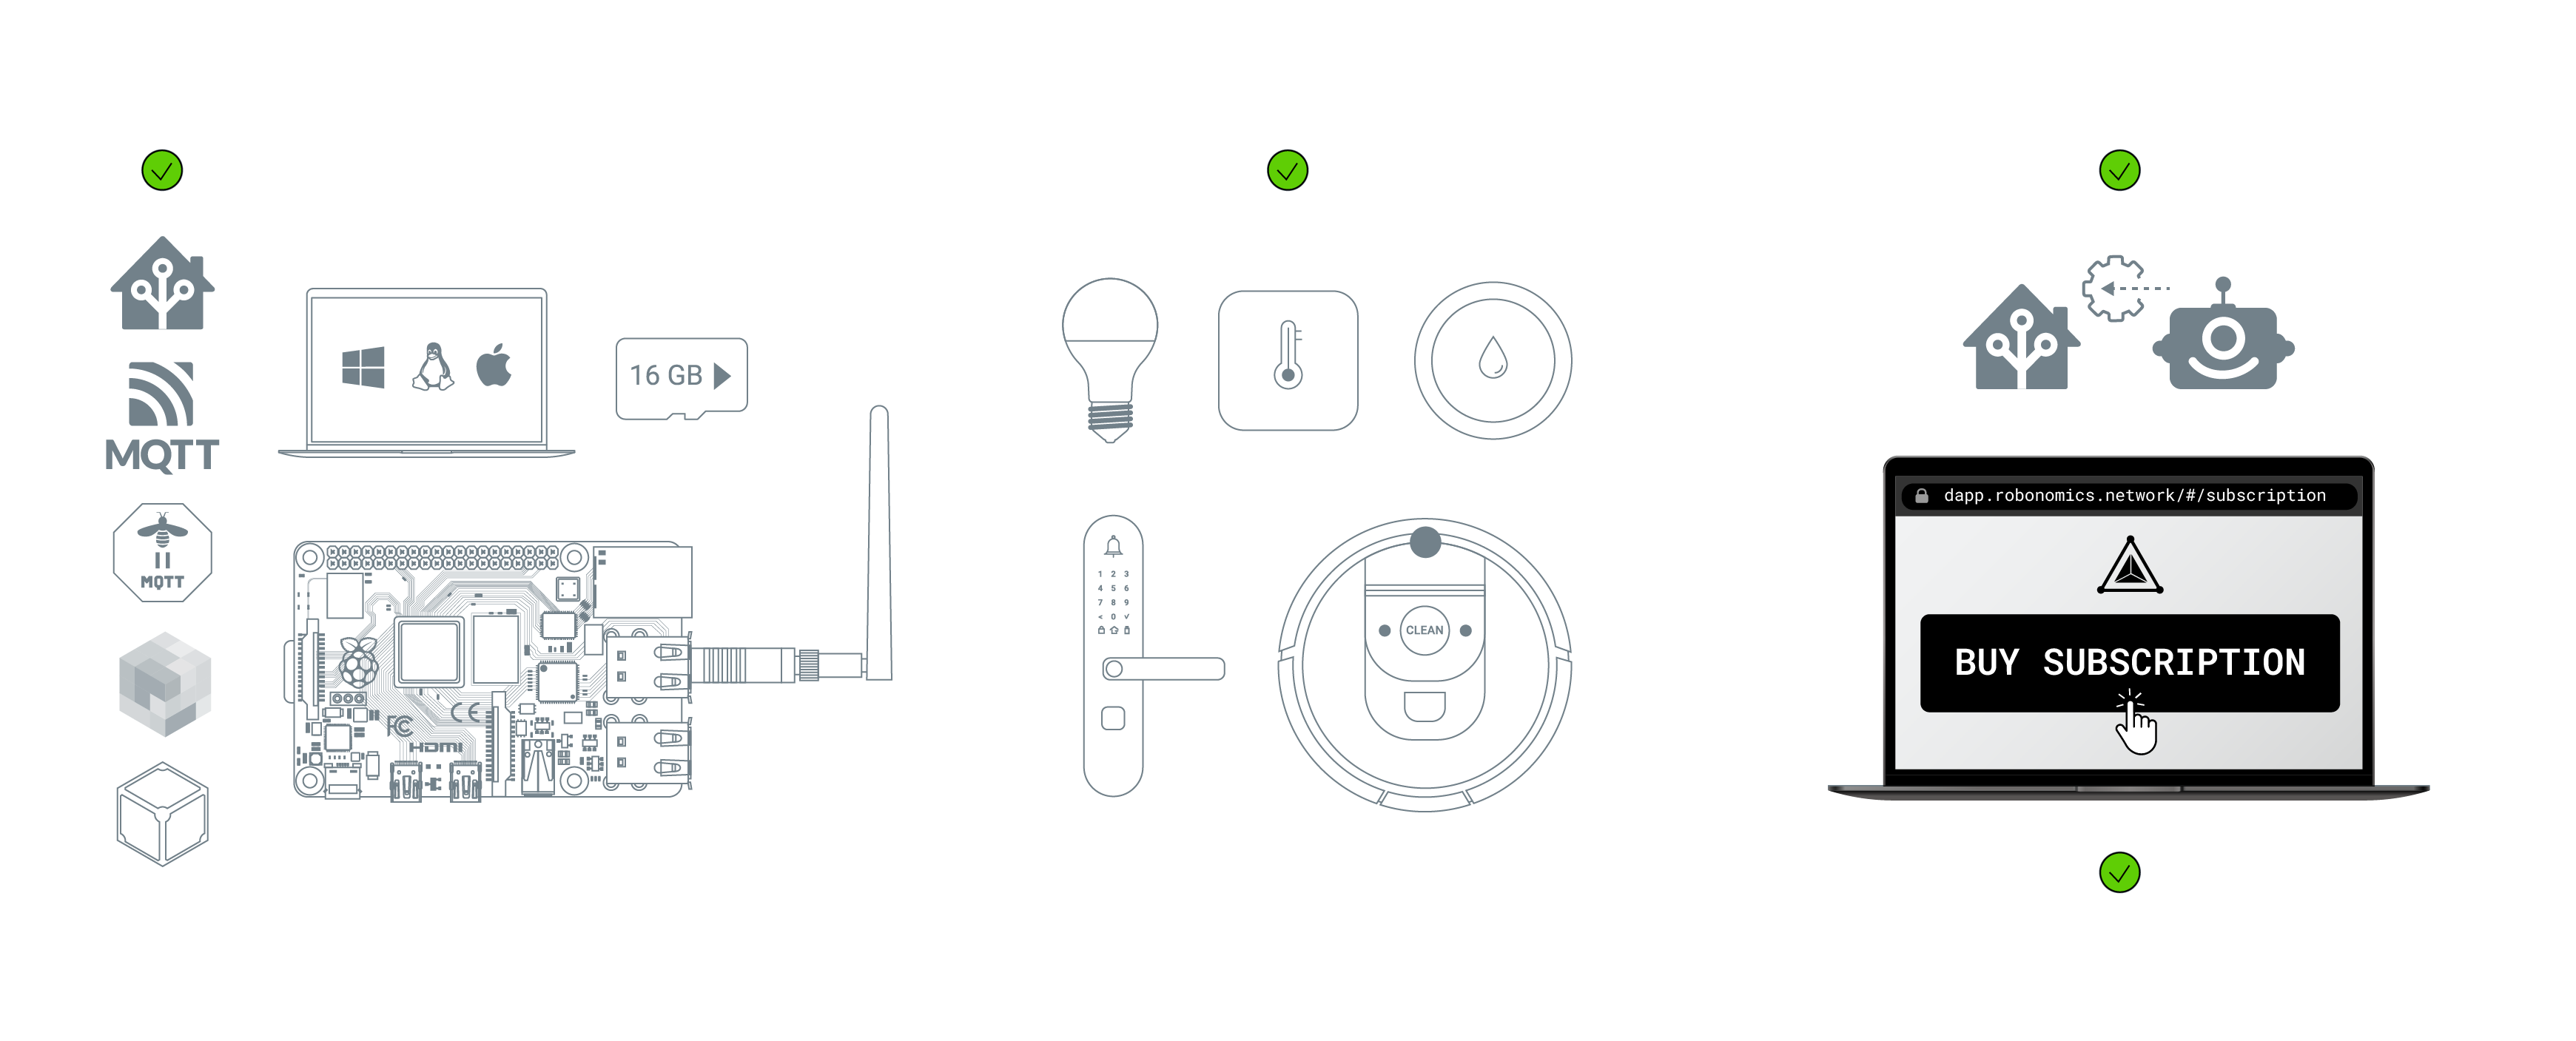
To control Home Assistant with Robonomics, you need 2 accounts on the Robonomics parachain. For one of the accounts (OWNER), you will buy a Robonomics subscription. The second account (CONTROLLER) will control all Home Assistant processes (such as telemetry) and will give access to other users. These accounts will provide security for your Home Assistant.
If you don’t have an account, check this article and create the OWNER account. The Controller account will be created automatically during setup.
In the article, a Polkadot.js extension wallet is used for working with accounts, but you can use another wallet that is convenient for you.
Activate Robonomics Subscription
For this step, you must have a sufficient amount of XRT tokens (minimum of 2-3 XRT) in your OWNER account.
Go to the Robonomics dApp and navigate to the subscription page. Then, click on
Connect Accounton the right sidebar.In the following popup menu, connect the Polkadot.js extension. You will see your account address along with its balance.
Before purchasing, ensure that you have selected the
OWNERaccount. Click on the address profile icon, and you should see theOWNERaccount.Finally, click the
BUY SUBSCRIPTIONbutton and enter the password for your account. Wait until the activation process is completed. You will see the state of your subscription after a while.
Setup your Subscription
Now you need to setup you subscription by adding the CONTROLLER account to it.
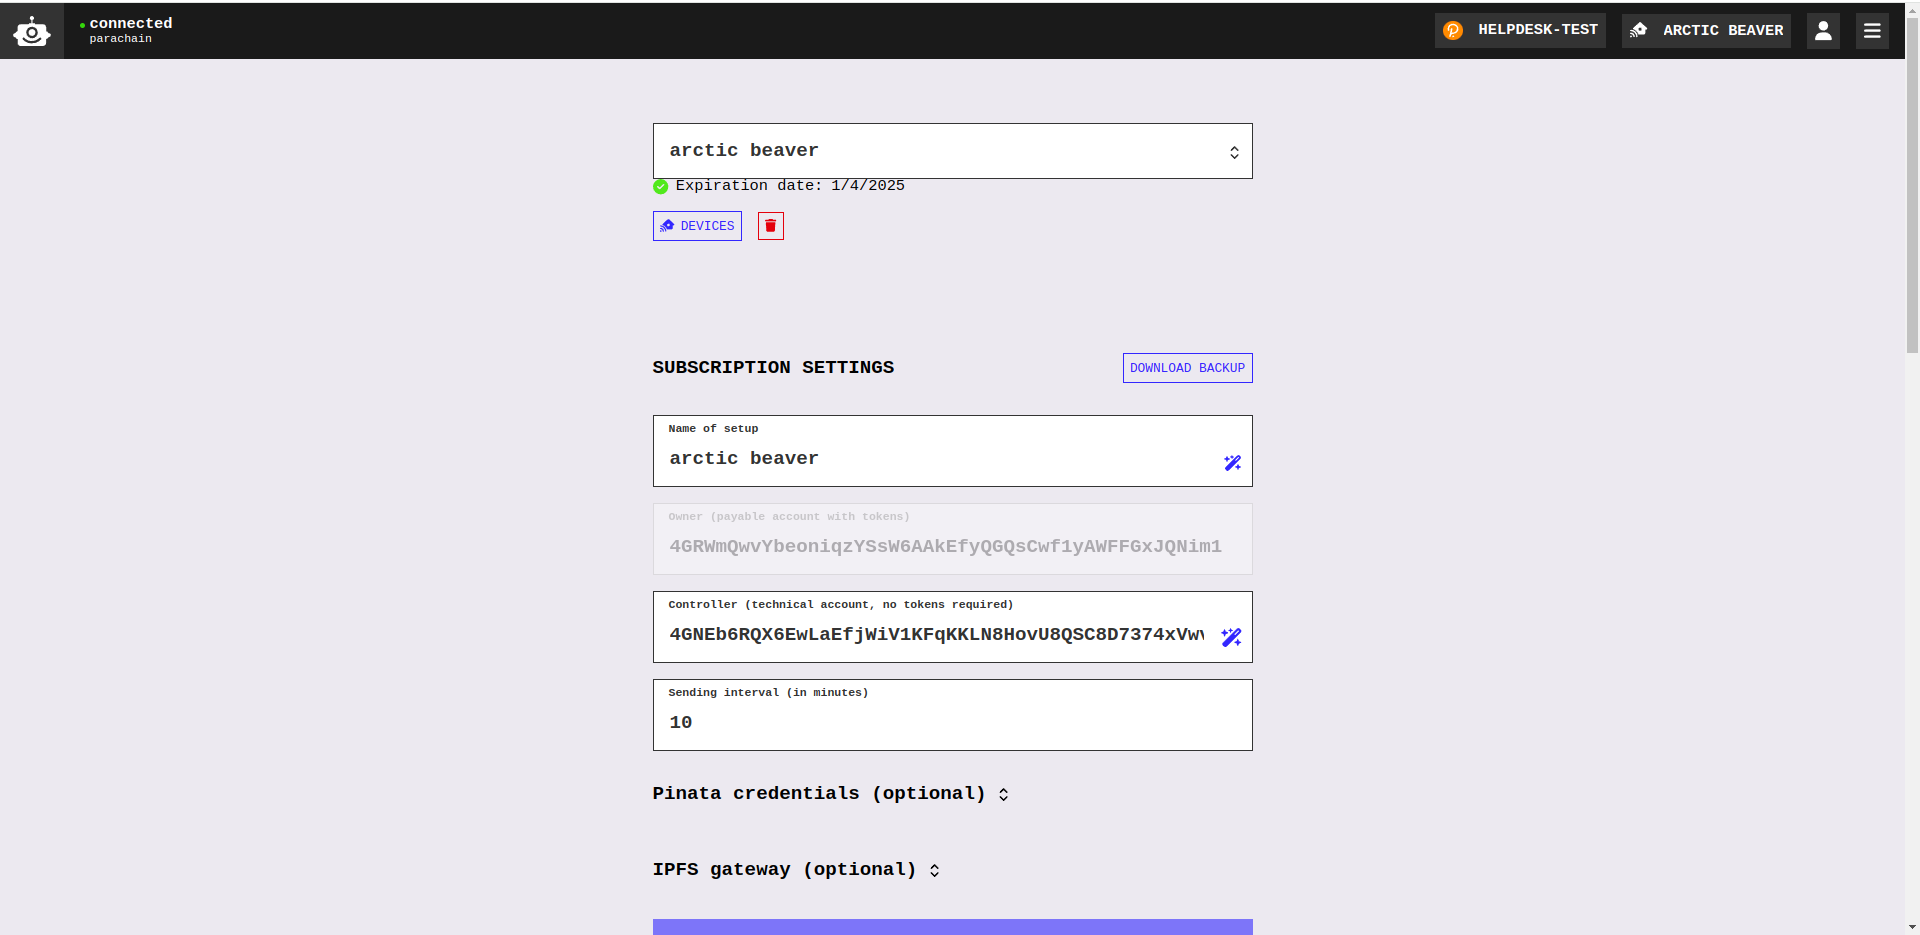
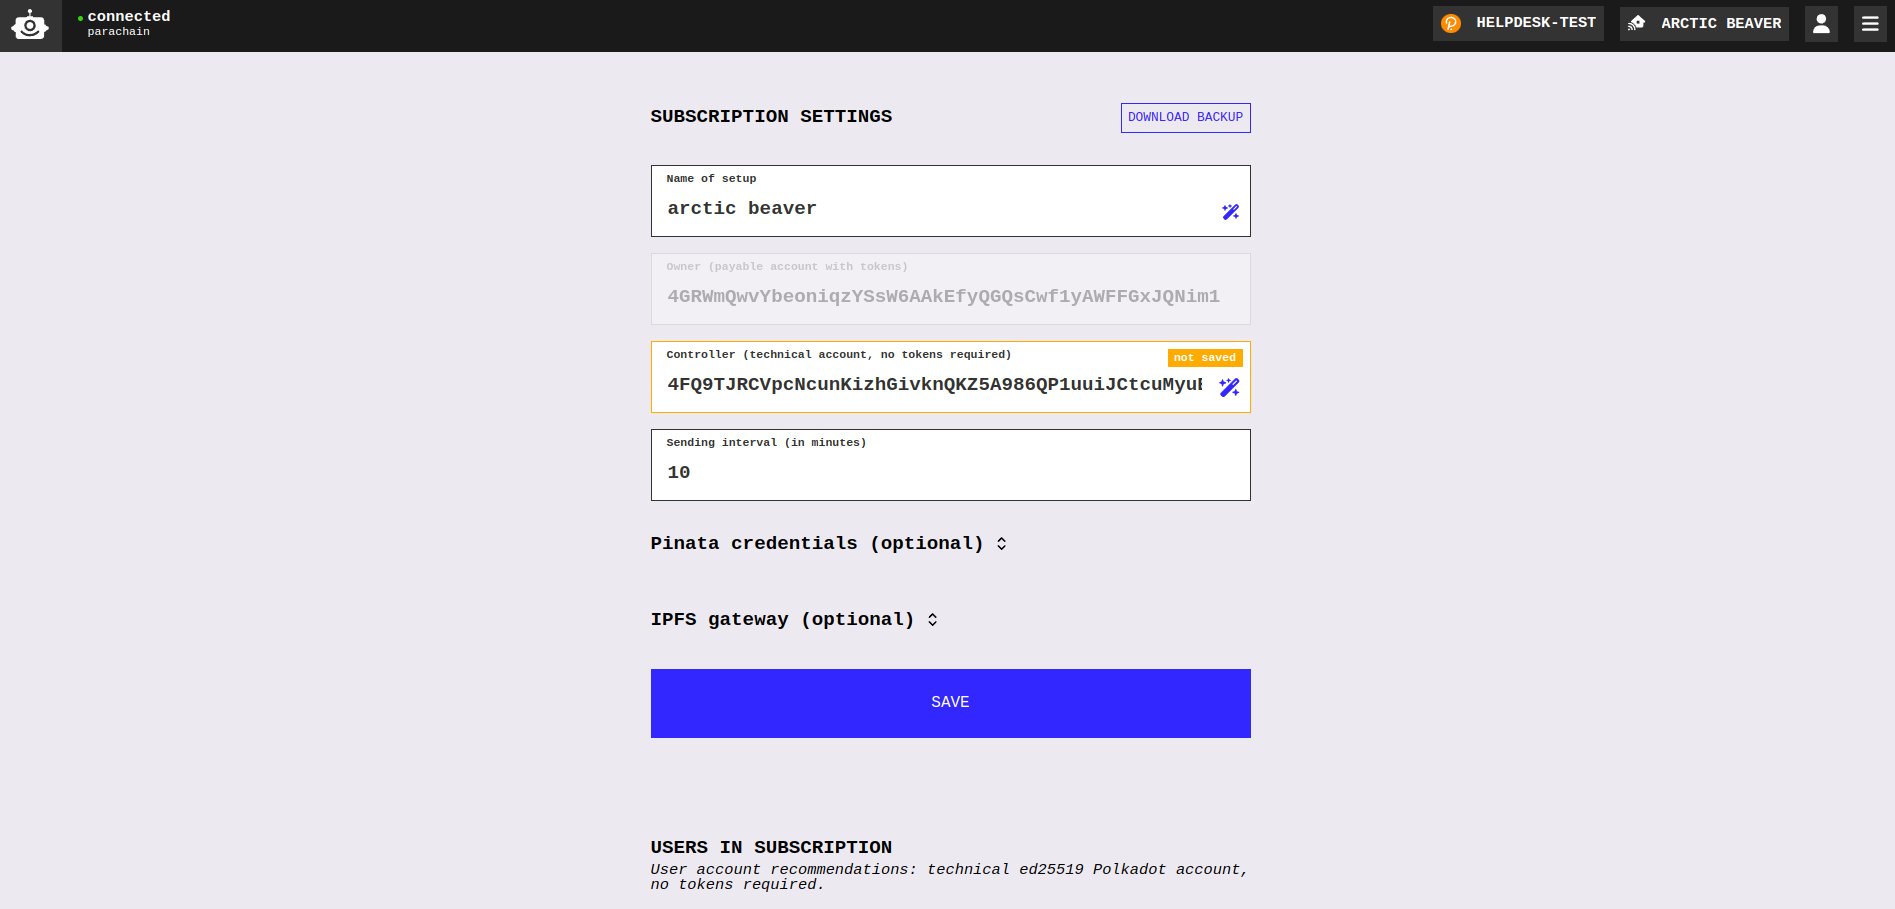
Go to the Robonomics dApp and navigate to the setup a subscription page. Navigate to the Subscription settings section.
Click on
DOWNLOAD BACKUPand selectFOR THE SERVERoption.Important informationThis action will create a new controller for your subscription. Do not forget to add it to the subscription.In the pop-up create password for the
CONTROLLERaccount.
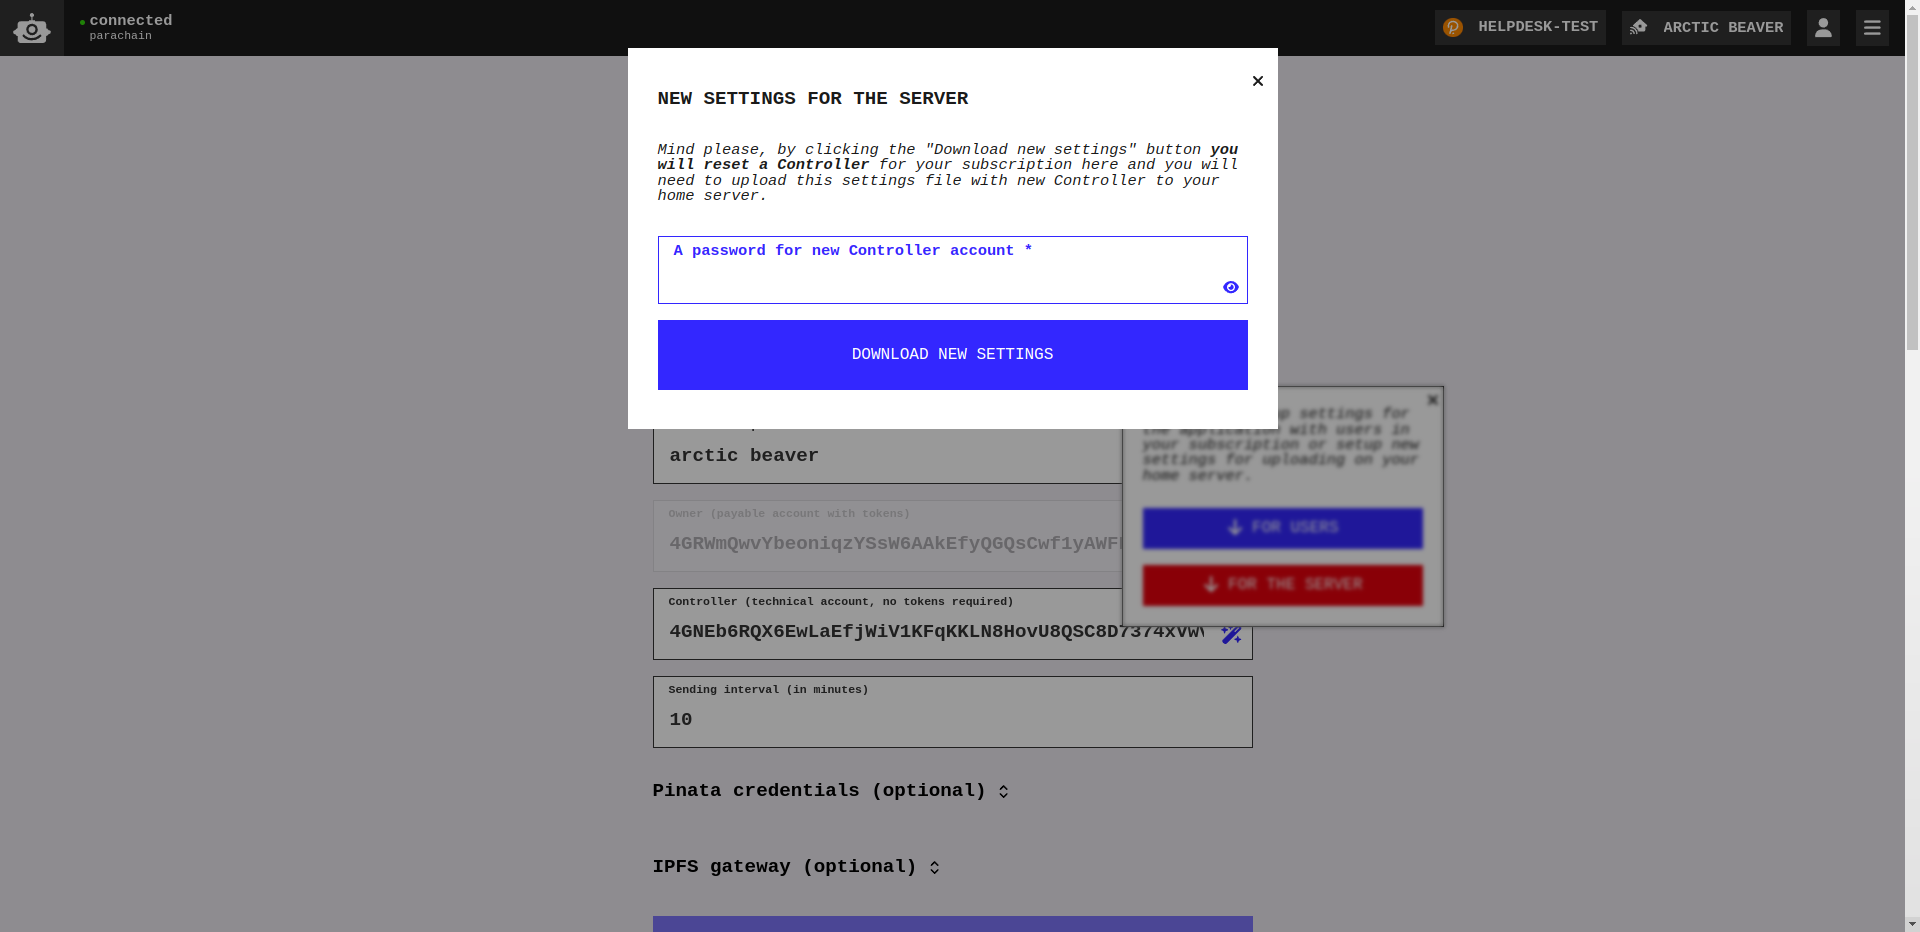
- In the next pop-up, you will see the address of your new account and the mnemonic seed phrase. Save the mnemonic seed phrase securely. In the downloads folder, you will find two JSON files: the first file is named
Controller-<address>.json, where<address>is the address of your newly generated controller. The second file is namedrobonomics.app-settings-<subscirption-name>-server.json, where<subscirption-name>is the name of your subscription. Save these files securely, as they will be needed later for the integration setup. Additionally, you can import your controller account into your wallet. Instructions for importing it into the Polkadot.js extension can be found here.
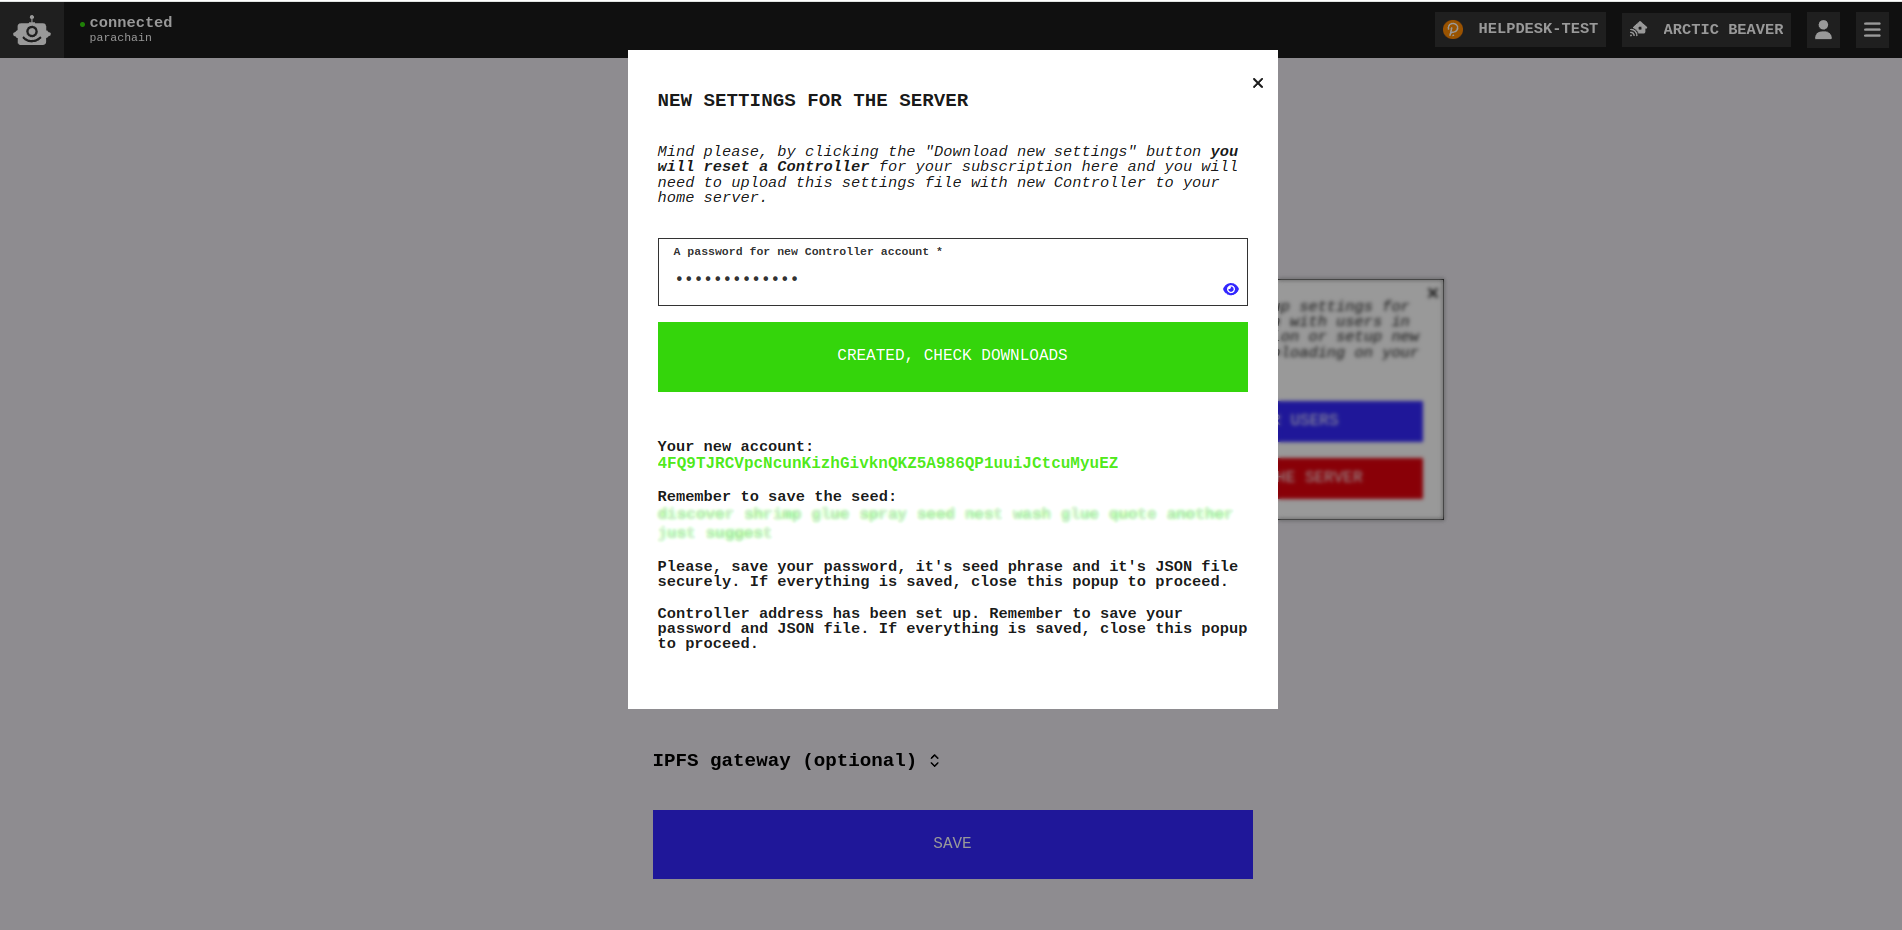
(Optional) You can add credentials for pinning service Pinata or other custom gateway to spread your data wider over the IPFS network.
NoteIn Pinata Setup section you can find more detailed information about using Pinata.Close pop-up and click the
SAVEbutton.
Add Controller Account to Subscription
Now, you need to add your CONTROLLER account to the access list.
Go to the Robonomics dApp and navigate to the setup a subscription page. Ensure that you have selected the correct subscription and the
OWNERaccount.Copy the
CONTROLLERaddress: open the extension and click on the icon next to the account name or copy the address from Subscription settings section.Paste this address into the
Polkadot addressfield in the USERS IN SUBSCRIPTION section and click the+button.Enter the password for your
OWNERaccount in the popup window, then wait for the activation process to be completed.
That’s all. Go to the next article.
Couldn't complete
It was hard
It was ok
It was easy
Make a contribution
Robonomics wiki is open source. See something that's wrong or unclear? Submit a pull request.

