How to Connect SDS011 Sensor
Here is a step-by-step guide on how to connect your sensor to the Robonomics Sensors Network And Home Assistant. Our sensors utilize the Robonomics firmware, which is an enhanced version of the sensor.community firmware. It includes additional sensors and has a modified data sending mechanism.
Setup
Plug in the sensor into the socket to power it.
The board will create a Wi-Fi network named
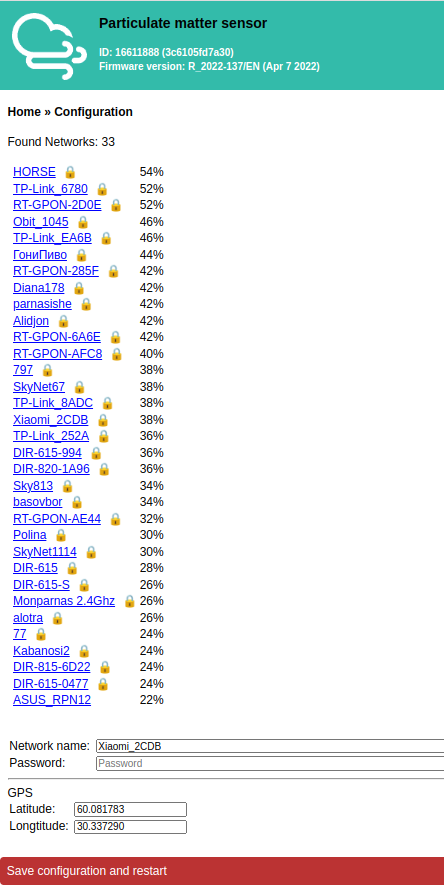
RobonomicsSensor-xxxxxxxxx. Connect to it from your phone or computer: you will see the authorization window (if not, open the browser and go to192.168.4.1).Select your Wi-Fi network from the list (or write it yourself if it’s not on the list) and fill in the password field.
INFOThe sensor can only be connected to a 2.4GHz Wi-Fi network.

- Click on
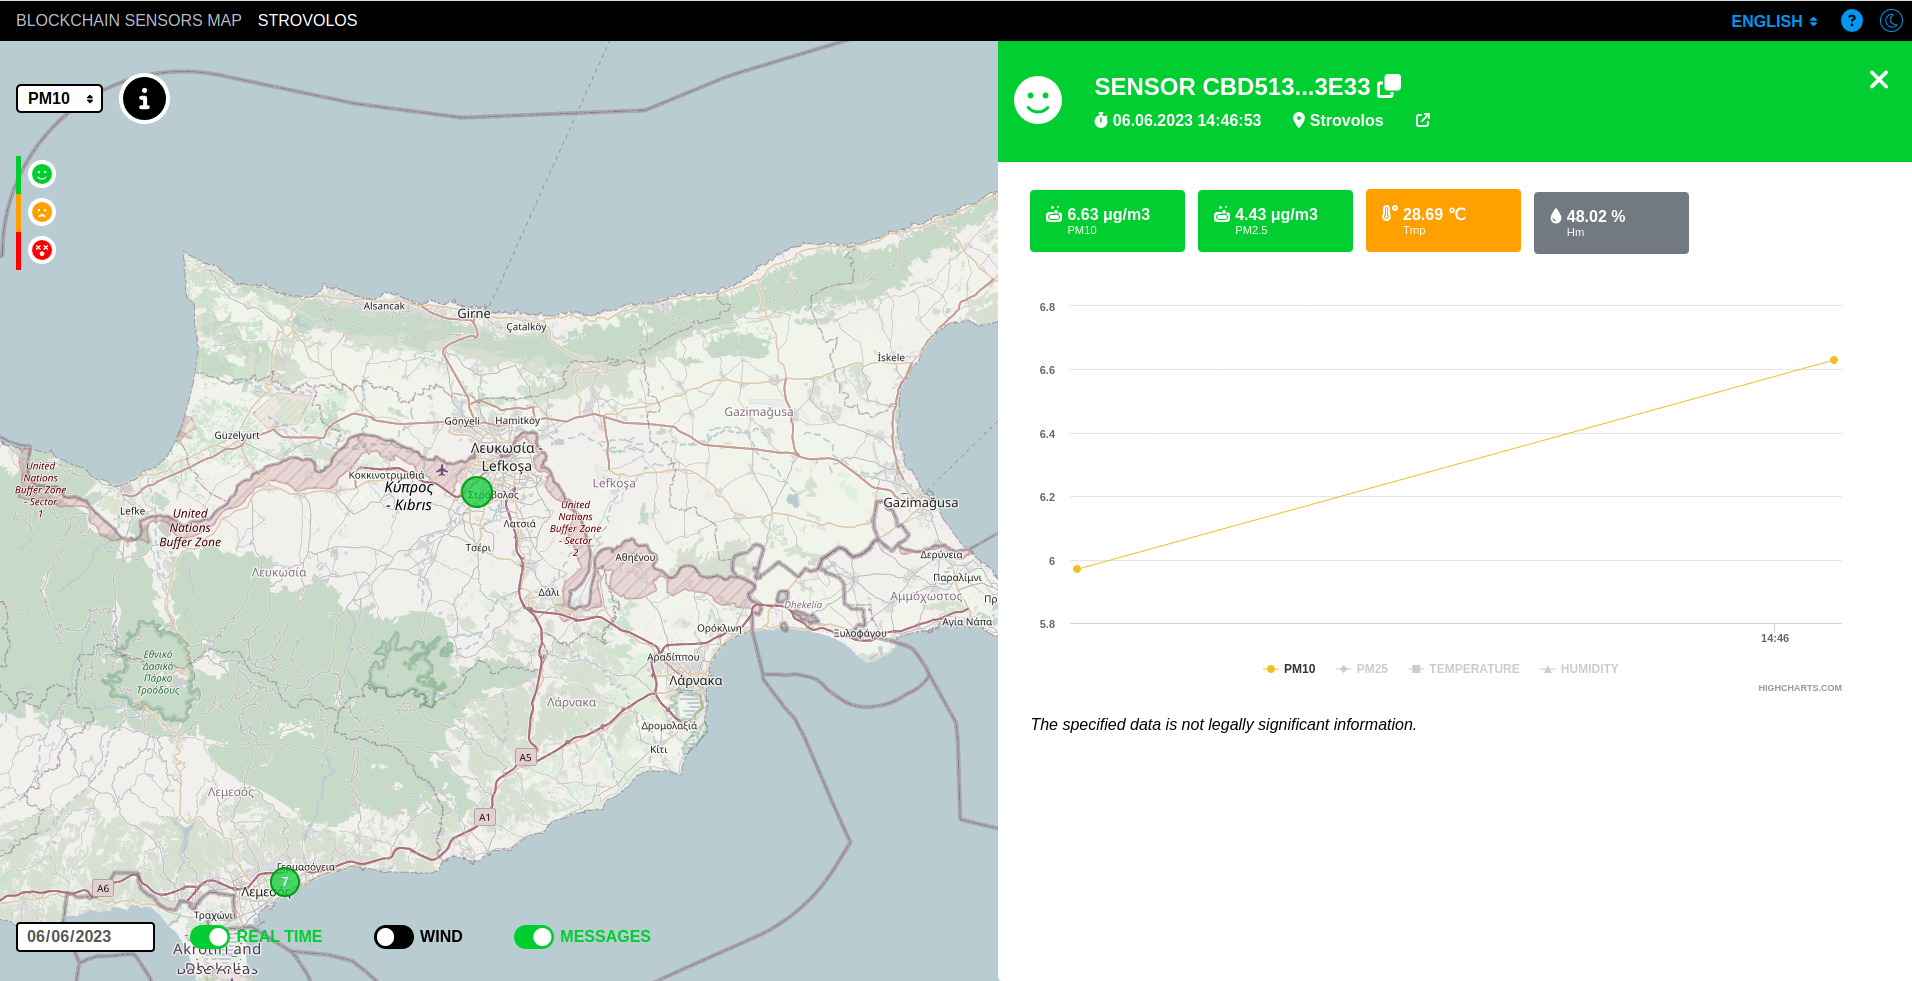
Save configuration and restart. The board will reboot and connect to the specified Wi-Fi network. - Open Robonomics sensors map and find your place where you installed the sensor. In a couple of minutes you will be able to see your sensor with data on map.

Home Assistant
There are two installation options available:
Option 1: HACS
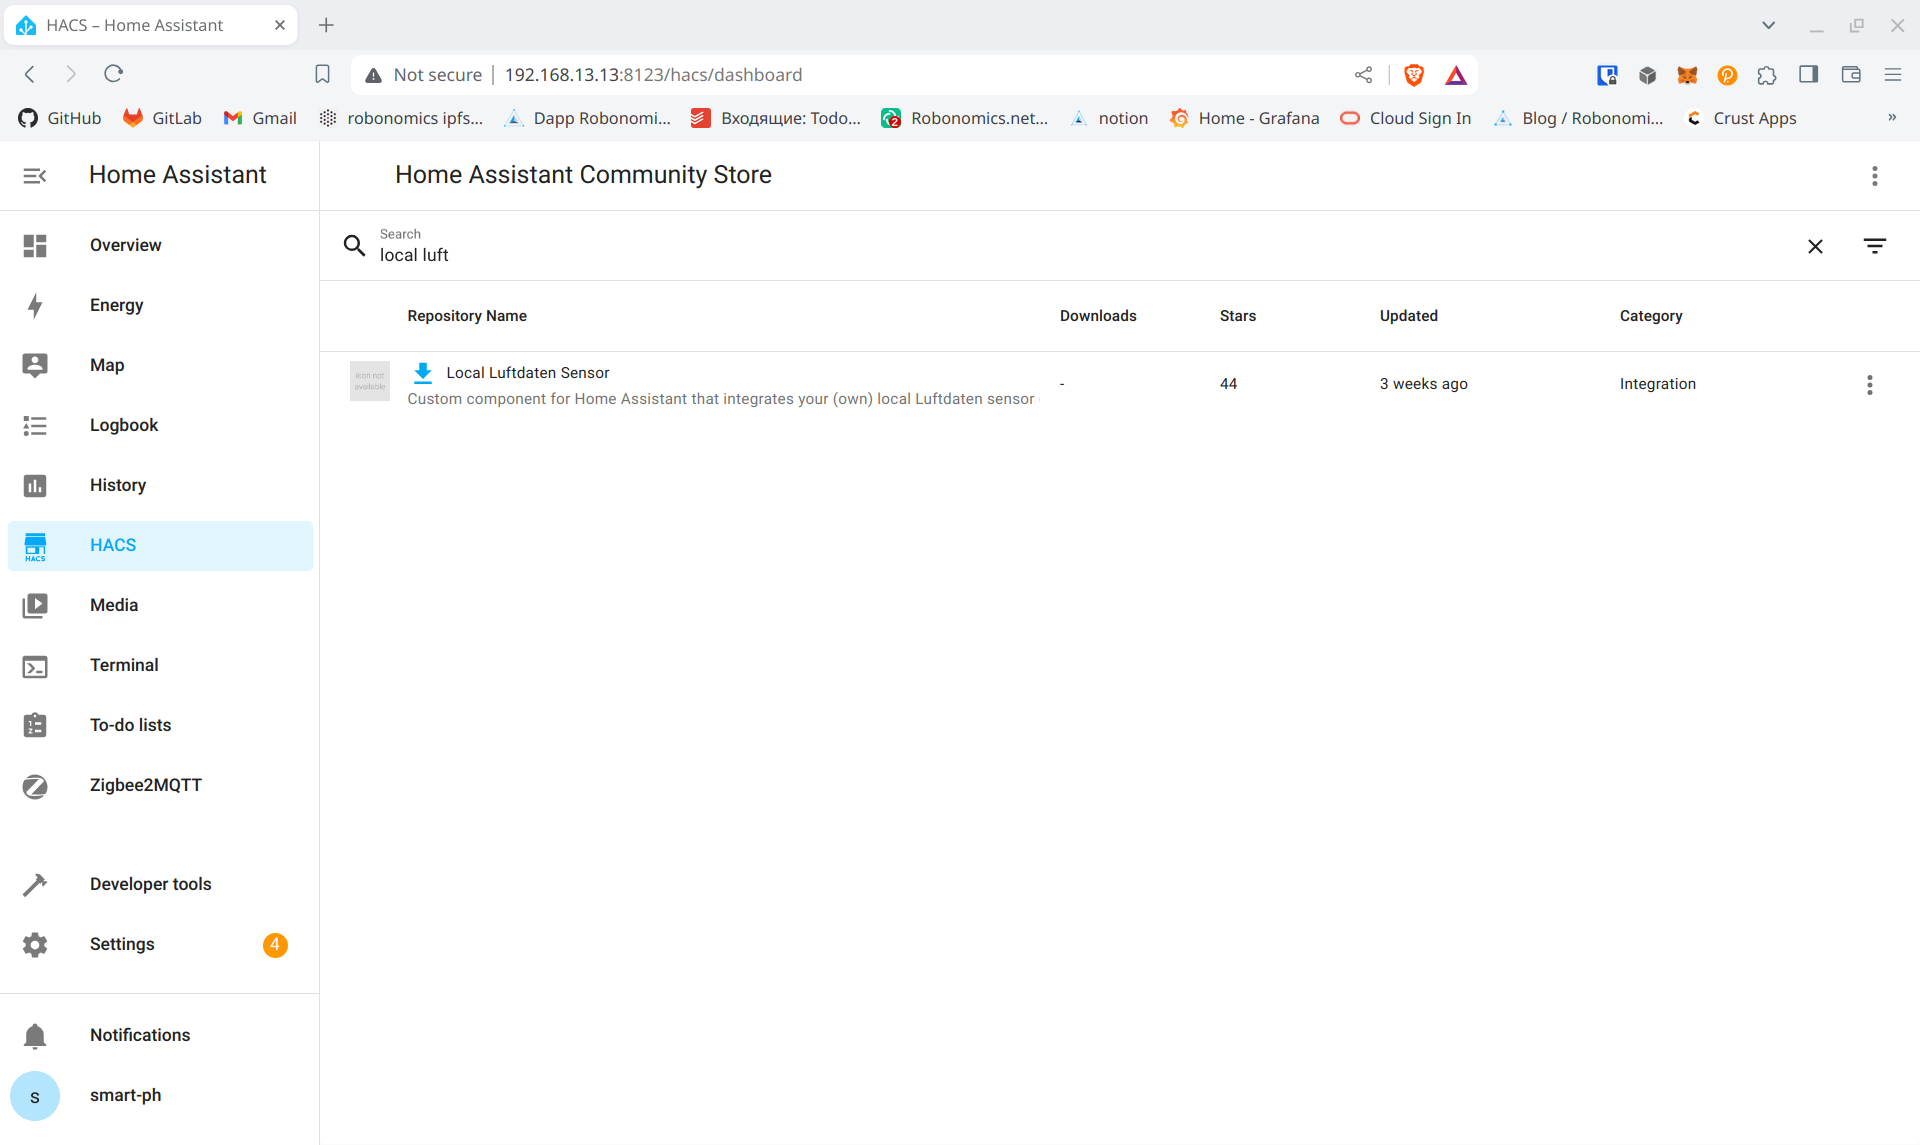
The easiest way to add a Local Luftdaten Sensor is through HACS. Here you can find a brief explanation on how to set up HACS.
Once HACS is installed, navigate to HACS -> Integrations and search for the Local Luftdaten Sensor integration. Click on the download button and restart Home Assistant once the integration is downloaded.

Option 2: Manual Installation
Under the homeassistant user, clone the project repository:
git clone https://github.com/lichtteil/local_luftdaten.gitIf you already have any custom integrations, copy the custom_components/local_luftdaten/ to your custom_components directory, For example:
cd local_luftdaten
mv custom_components/local_luftdaten ~/.homeassistant/custom_components/
If you don’t have any custom integrations, copy the whole custom_components directory to your Home Assistant configuration directory. For example:
 cd local_luftdaten
 mv custom_components/ ~/.homeassistant/
Configuration
Create a new sensor entry in your configuration.yaml and adjust the host name or the IP address. To find the local IP address of your sensor, you can use Fing mobile app or nmap CLI tool. Name can be any.
| Parameter | Type | Necessity | Description |
|---|---|---|---|
host | string | required | IP address of the sensor |
scan_interval | number | default: 180 | Frequency (in seconds) between updates |
name | string | required | Name of the sensor |
monitored_conditions | list | required | List of the monitored sensors |
sensor:
  - platform: local_luftdaten
    host: 192.168.0.100
    scan_interval: 150
    name: Air quality sensor
    monitored_conditions:
      - SDS_P1
      - SDS_P2
      - HTU21D_temperature
      - HTU21D_humidity
      - signal
A list of all supported sensors can be found in the repository.
Restart your Home Assistant.
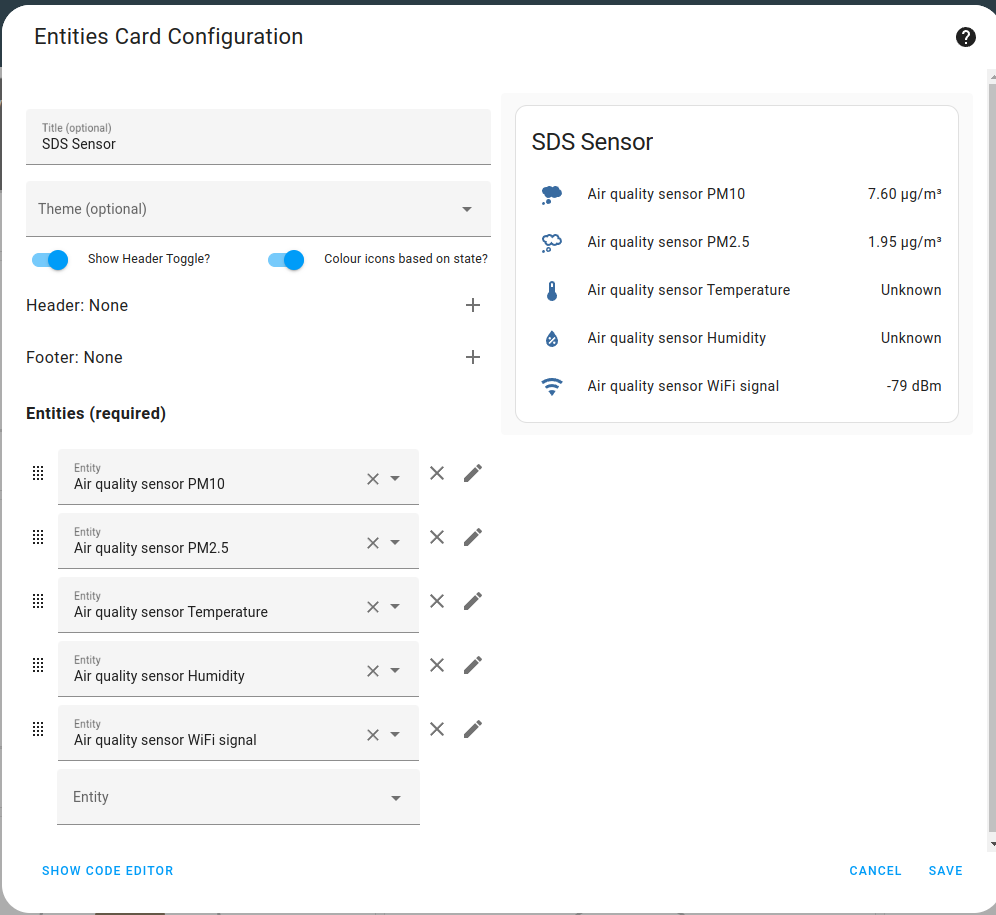
After that, you can add a sensor to your dashboard. The name of the entity will be the name you added to configuration.yaml.

Couldn't complete
It was hard
It was ok
It was easy
Make a contribution
Robonomics wiki is open source. See something that's wrong or unclear? Submit a pull request.

